SpringBoot+VUE實(shí)現(xiàn)前后端分離的實(shí)戰(zhàn)記錄
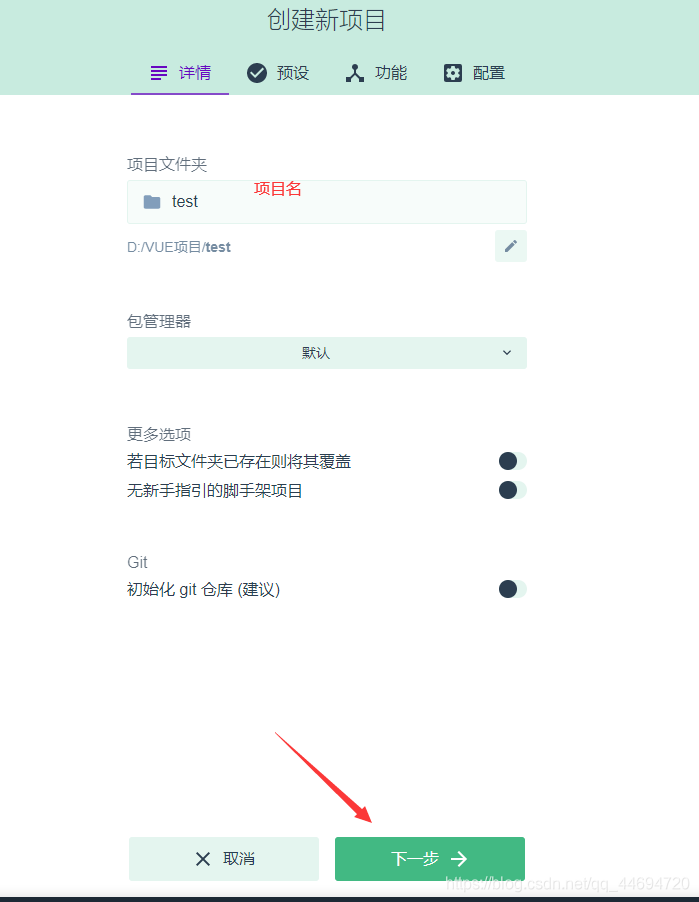
這里使用VUE UI創(chuàng)建一個(gè)VUE項(xiàng)目
命令行輸入vue ui進(jìn)入
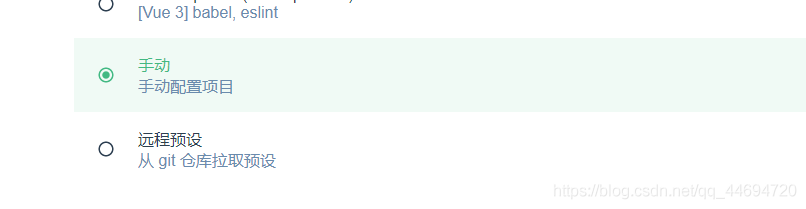
手動(dòng)配置項(xiàng)目
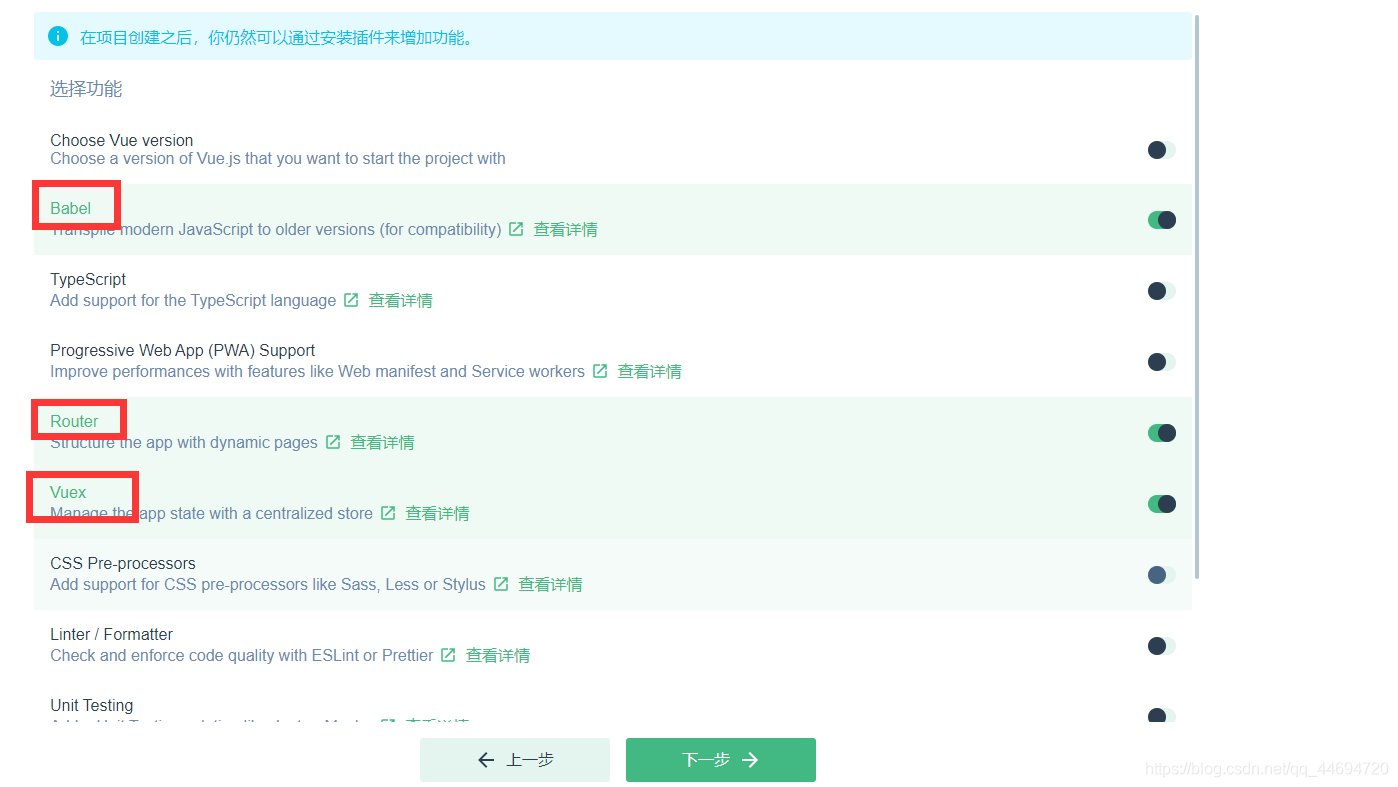
選中這三個(gè)
點(diǎn)擊下一步->點(diǎn)擊創(chuàng)建項(xiàng)目
用IDEA打開剛才創(chuàng)建的項(xiàng)目
IDEA中的安裝vue插件并重啟

IDEA控制臺(tái)中輸入vue add axios安裝axios

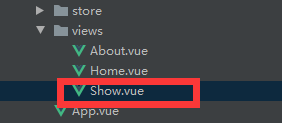
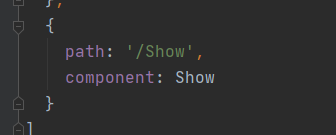
新建一個(gè)Show.vue
在index,js的routes中配置它的路由
編寫Show,vue向后端請(qǐng)求數(shù)據(jù)并展示
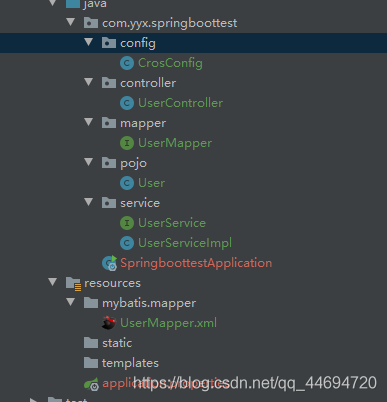
<template> <div><table> <tr><td>ID</td><td>姓名</td><td>性別</td> </tr> <tr v-for='user in users'><td>{{user.id}}</td><td>{{user.name}}</td><td>{{user.sex}}</td> </tr></table> </div></template><script> export default {name: 'Show',data(){ return{users:[ {id:'',name:'',sex:'', }] }},created() { const _this=this axios.get(’http://localhost:8888/user/showAll’).then(function (resp) {_this.users=resp.data })} }</script><style scoped></style>二,后端SpringBoot項(xiàng)目
編寫一個(gè)查詢功能
略
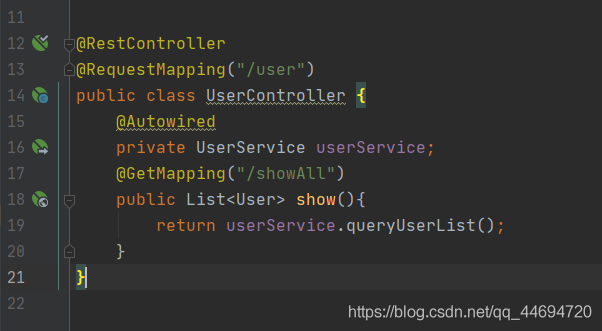
controller層返回json數(shù)據(jù)
在spring boot中解決跨域問題
重寫WebMvcConfigurer中的addCorsMappings()方法
@Configurationpublic class CrosConfig implements WebMvcConfigurer { @Override public void addCorsMappings(CorsRegistry registry) {registry.addMapping('/**').allowedOriginPatterns('*').allowedMethods('POST', 'GET', 'PUT', 'OPTIONS', 'DELETE').allowCredentials(true).maxAge(3600).allowedHeaders('*'); }}
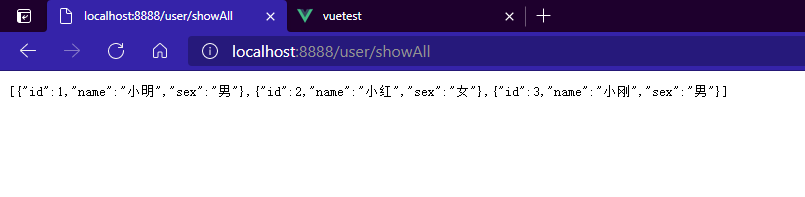
后端測(cè)試(注意前后端端口號(hào)的區(qū)分,VUE占用了8080和8081,在Springboot中修改后端的端口號(hào))

數(shù)據(jù)輸出成功
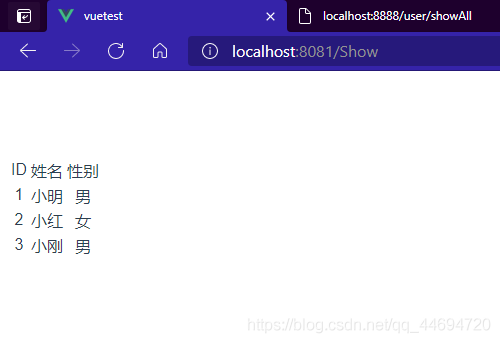
前端發(fā)請(qǐng)求拿數(shù)據(jù)

前端拿數(shù)據(jù)成功!!!
到此這篇關(guān)于SpringBoot+VUE實(shí)現(xiàn)前后端分離的文章就介紹到這了,更多相關(guān)SpringBoot+VUE前后端分離內(nèi)容請(qǐng)搜索好吧啦網(wǎng)以前的文章或繼續(xù)瀏覽下面的相關(guān)文章希望大家以后多多支持好吧啦網(wǎng)!
相關(guān)文章:
1. HTML iframe標(biāo)簽用法案例詳解2. PHP對(duì)接阿里云虛擬號(hào)的實(shí)現(xiàn)(號(hào)碼隱私保護(hù))3. HTML基礎(chǔ)知識(shí)總結(jié)4. 利用Python實(shí)現(xiàn)最小二乘法與梯度下降算法5. intellij idea寫Python教程6. Vue+ssh框架實(shí)現(xiàn)在線聊天7. CSS單標(biāo)簽實(shí)現(xiàn)復(fù)雜的棋盤布局8. 使用本機(jī)IIS?Express開發(fā)Asp.Net?Core應(yīng)用圖文教程9. PHP文件運(yùn)行步驟以及數(shù)據(jù)庫的連接代碼10. asp(vbs)Rs.Open和Conn.Execute的詳解和區(qū)別及&H0001的說明

 網(wǎng)公網(wǎng)安備